The Skrill verification journey
Nov 04, 2020
Having a step by step guide will help referrals not to feel lost when going through the verification journey.

The verification of a Skrill account has a lot of benefits. It removes the transactional limit on the account and it increases the transacting amount for the referrals. We have prepared a short guide to help your referrals in their verification journey and make it as simple as possible.
Feel free to share our video guide with your referrals with the share button in the video.
Fund Account
Funding a Skrill account is part of the verification process. It can be completed ONLY after the successful funding of the account. A Skrill account can be funded by using any of upload options available in the Deposit section in the account or by receiving money from other Skrill customer or merchant.
The process can be started by uploading a copy of photo identification documents by clicking on the banner, visible after logging in to the Skrill wallet or via the Settings section in the Skrill account, under Verification.
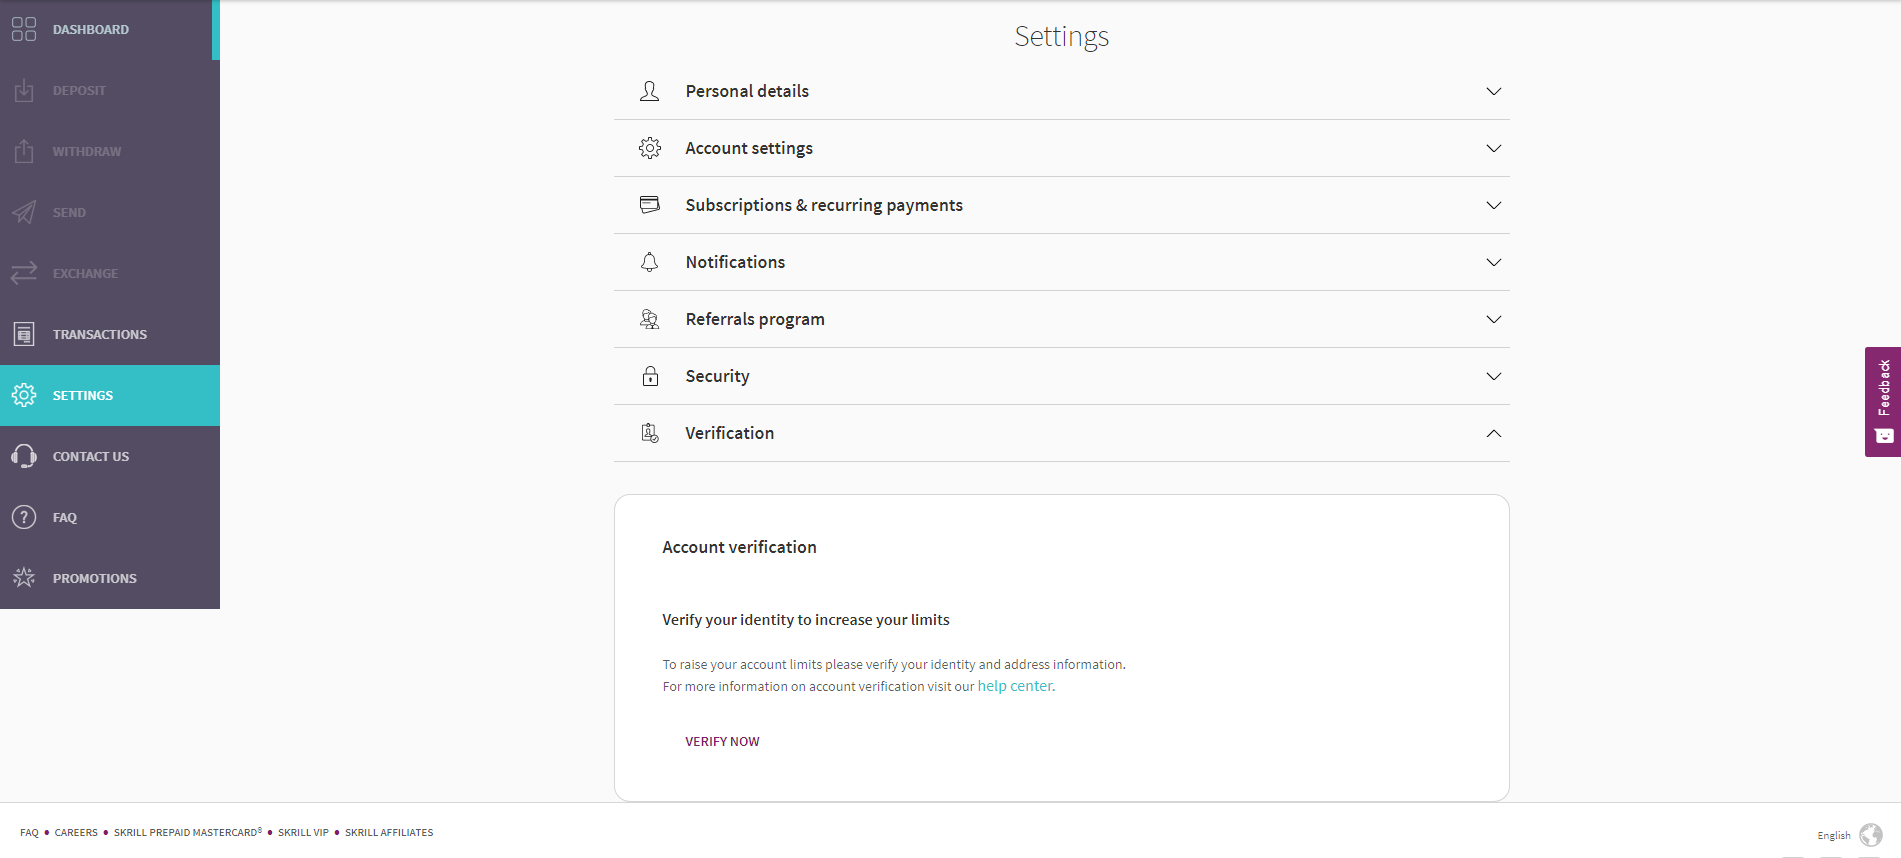
This will lead the referrals to the Verify your Account page where all remaining verification steps will be displayed.
Verify Id
Another option is to verify the Skrill account via a Facebook profile or to follow the standard verification flow.
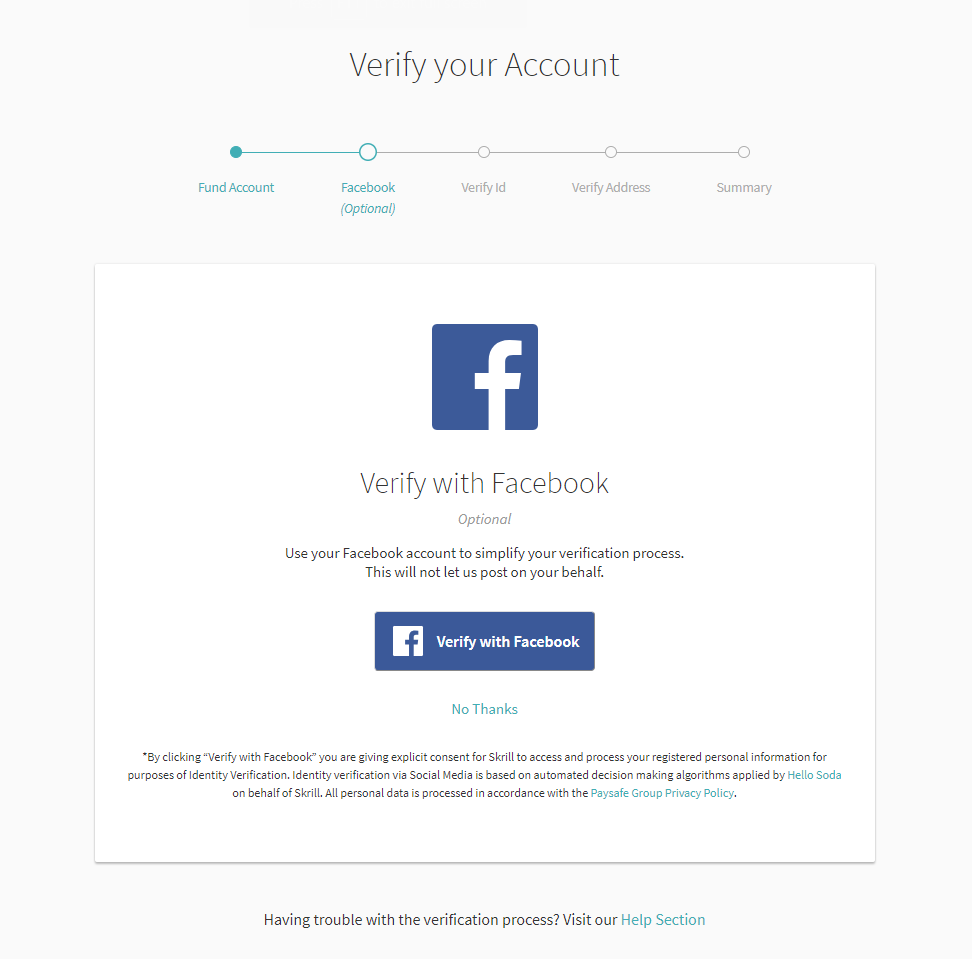
Depending on the country of residence this option may not be available to some referrals.
When the Verify ID process has started, there will be 2 options available to complete the ID verification:
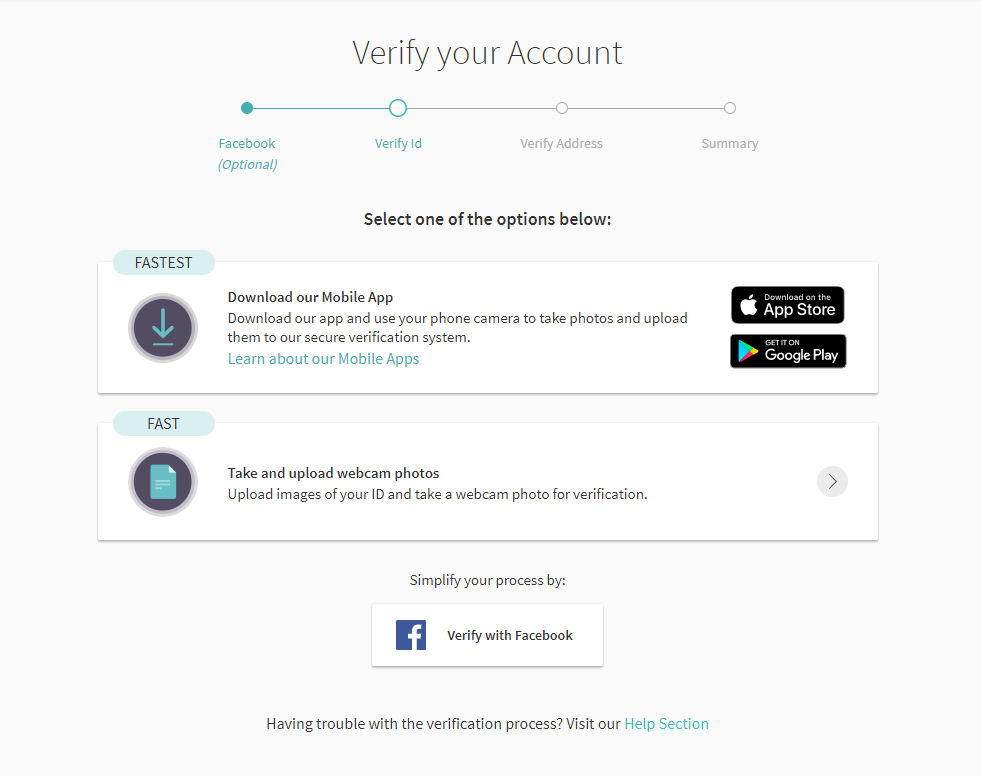
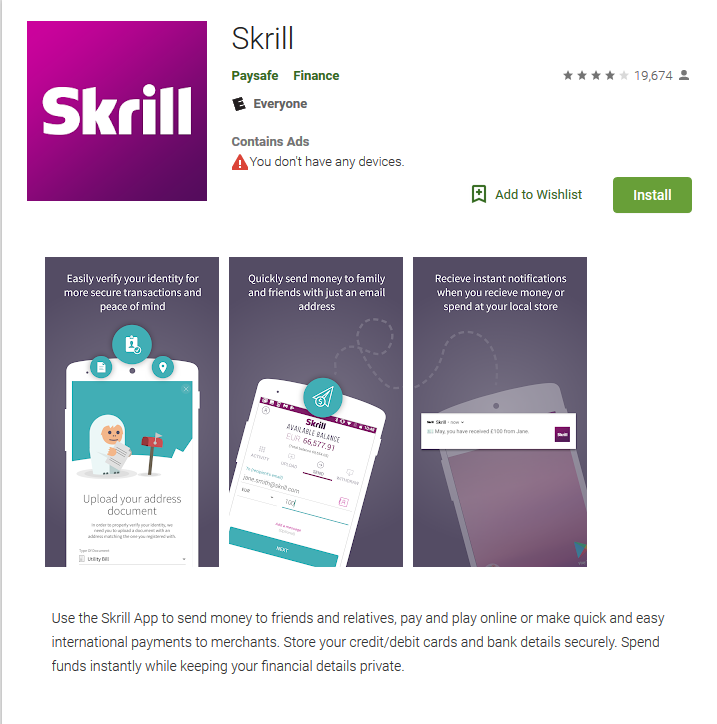
1.Downloading the Mobile App –This is the fastest option which allows to use the phone camera to take photos and upload them to the secure verification system. Referrals can download the Skrill application (Skrill Google Play/Skrill Apple App Store) and use a smartphone camera in order to easily complete this verification step
2. Take and Upload Webcam Photos – This is a fast option allowing referrals to use webcam to capture images or upload photos of the front and back of their ID, and then take a picture of their face (selfie).
Note: If referrals don't have a webcam, they have to use Option 1 above.
By clicking on Take and Upload Webcam Photos, referrals will be given the option to choose their document type and country of issuance.
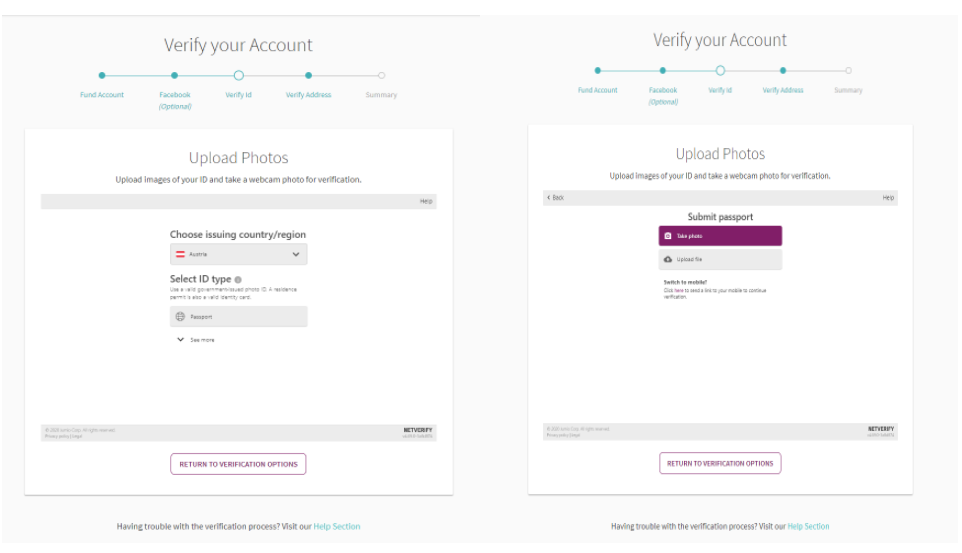
Next referrals will be required to either upload copies of their documents or use their webcam to capture new images of their document, and then take a picture of their face (selfie).
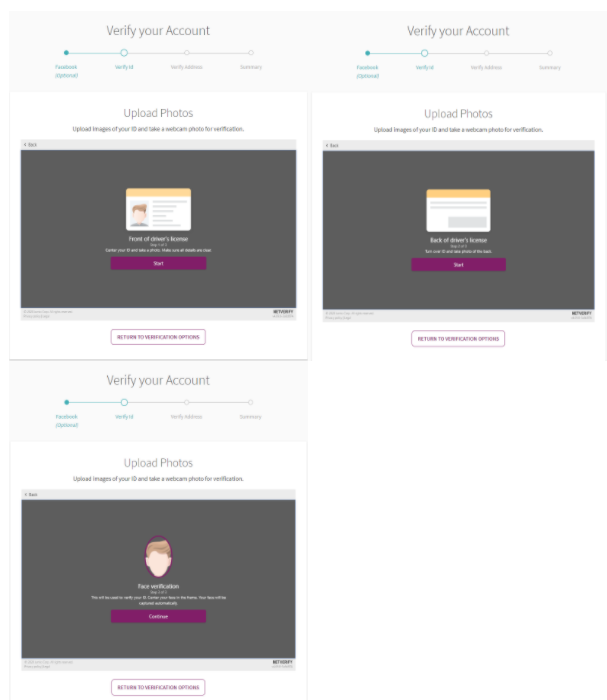
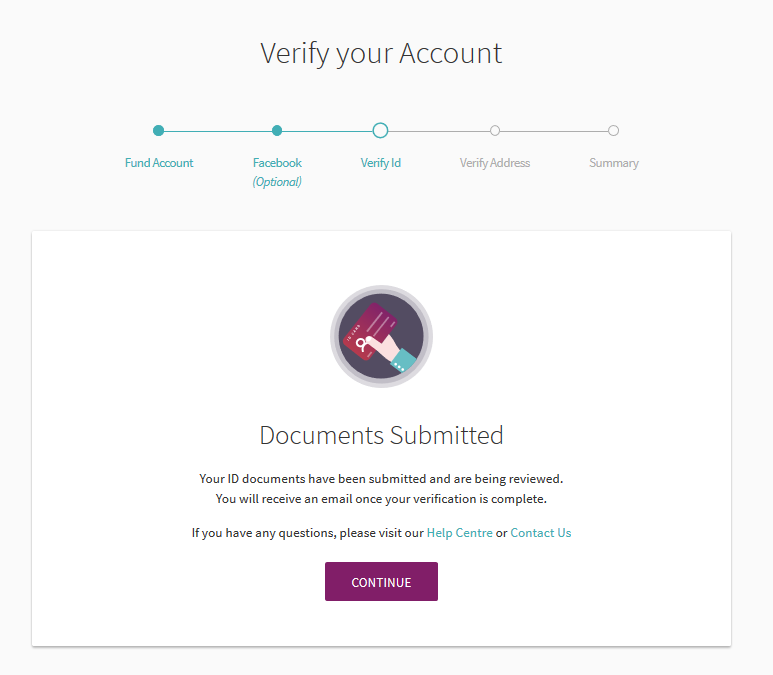
After successfully uploading/using their webcam to submit their documents and taking a photo of their face, the Verify Your ID step will be IN REVIEW.
For India referrals - they can verify their identity by confirming PAN card and/or Driving license number.
They will then receive a success message and can continue to any remaining verification steps.
Verify Address
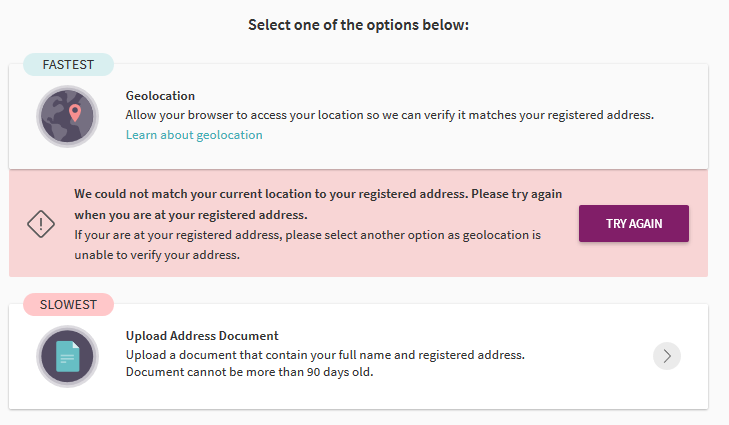
If referrals have not yet shared their browser location, they will be prompted to do it to fulfill the Verify your address requirement
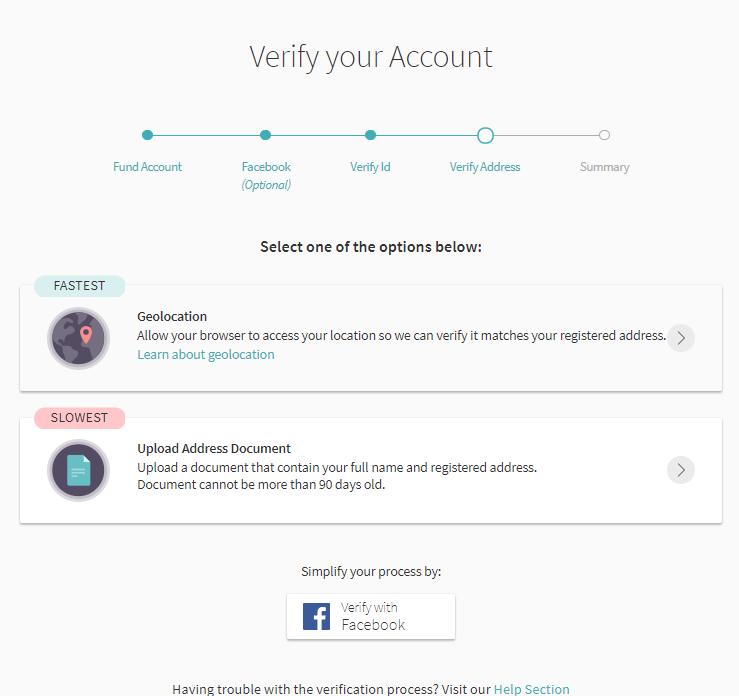
The geolocation service is available for selected countries only. If a customer’s country is not supported, we'll give them the chance to manually upload an address verification document.
For limited countries only, address verification can be completed at the Verify ID step, if referrals provide 2 different sources of name to address information.
Summary
On the summary page referrals will see that certain steps have been completed and that the submitted documents are being reviewed.
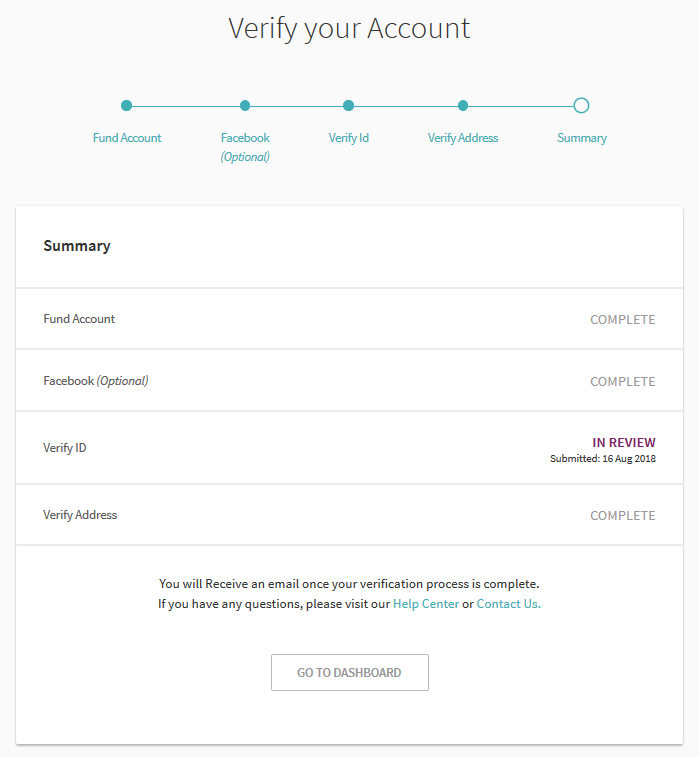
Once the verification process is fully completed, they will receive an email confirmation.
Additional information on the account verification process you can find here
